
A DIY fire pit creates a welcoming outdoor retreat
(BPT) – The outdoor living trend continues to flourish with homeowners desiring exterior spaces that are beautiful and inviting while also increasing a property’s overall value. Providing a gathering place and focal point for the yard, fire pits are one of the most requested outdoor features. In fact, according to the American Society of Landscape Architects, fire pits are one of the most popular outdoor design elements among homeowners.
A stunning fire pit is a simple project that anyone can do with a few basic tools, high-quality supplies and a little DIY effort. Consider using the Stonegate three-piece system from Keystone Hardscapes to create a professional-looking fire pit without the cost of hiring contractors. With versatile wall units, high-quality bricks and additional supplies, you’ll have everything you need to make your project a success.
Smart tip: Before you start any project that requires digging, call 811 to locate underground gas and power lines at no cost. Additionally, always wear personal safety gear such as eye protection, gloves and ear protection.
Step 1: Prepare the location
Step 2: Construct the leveling pad
Step 3: Installing the first course (layer of stone)
Step 4: Installing the second/odd course
Step 5: Capping the fire pit
Fire pit lining: Experts recommend that the inside area of the fire pit be lined with a steel shield or high-strength brick or paver units to protect the outside stones from direct heat degradation. Do not use fire brick as a liner material. Optionally, a steel shield liner cap with the rim only may be welded to the steel shield liner.
Nothing is more inviting than a cozy fire. The gentle warmth and mesmerizing flicker inspire people to share stories, laugh and spend quality time together. A beautiful fire pit is a sure way to create these meaningful moments while also enhancing the value of your home.
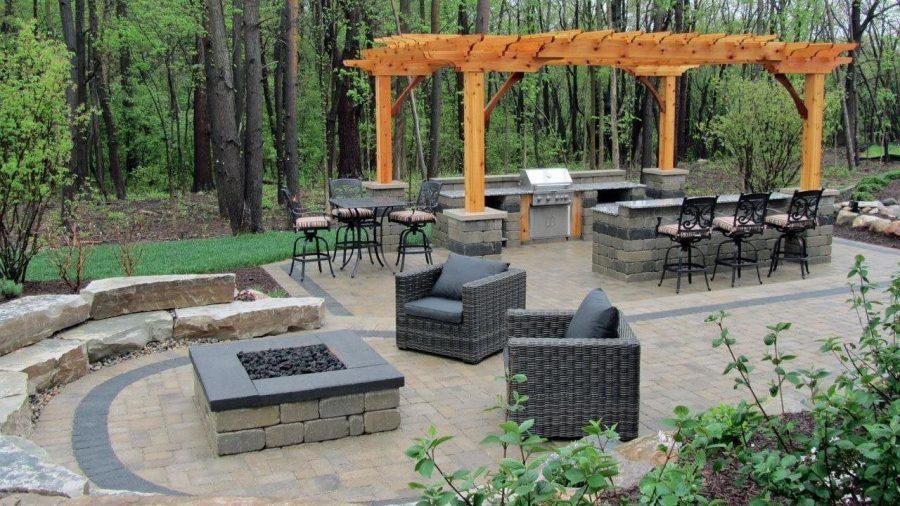
Outdoor living designs like these make it easy to create a beautiful fire pit yourself as well as other DIY projects such as barbecue surrounds, paver planters and so much more. For additional instructions and insider tips, visit www.keystonehardscapes.com.